- Start NetBeans IDE, click File -> New project... on top menu
- Select Categories of Java, and Projects of Java Desktop Application, and click Next.
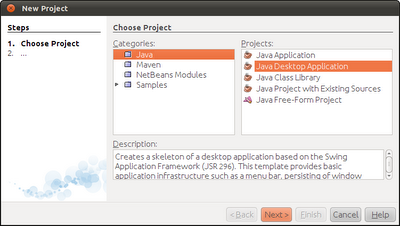
- Review Disclaimer and click Next.

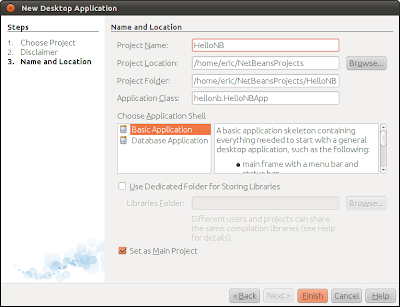
- Enter Project Name (HelloNB), and select Basic Application in Choose Application Shell box, and click Finish.
- Place a Label:
Like other GUI IDE, simple drag a Label (under Swing Controls) from the Palette pane over the Design Pane.
- Change the Label text:
Right click on the Label and select Edit Text.
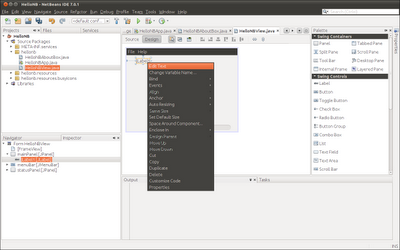
Enter the text.
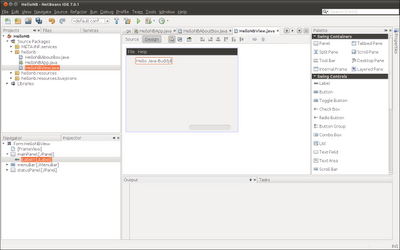
- Save All and Click the Green arrow icon to run the application.
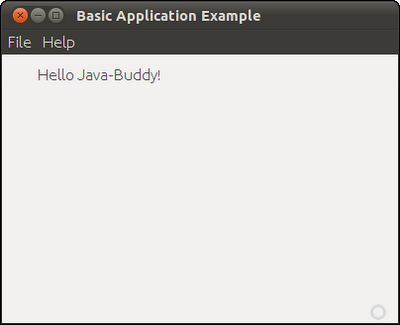
next:
- NetBeans: Setting Events With the Connection Wizard
- Select Categories of Java, and Projects of Java Desktop Application, and click Next.

- Review Disclaimer and click Next.

- Enter Project Name (HelloNB), and select Basic Application in Choose Application Shell box, and click Finish.

- Place a Label:
Like other GUI IDE, simple drag a Label (under Swing Controls) from the Palette pane over the Design Pane.
- Change the Label text:
Right click on the Label and select Edit Text.

Enter the text.

- Save All and Click the Green arrow icon to run the application.

next:
- NetBeans: Setting Events With the Connection Wizard
No comments:
Post a Comment